Fractal Design has been one of the pioneers of sleek cases in the industry and the Fractal Design Define R5 is definitely up in the widely popular Define Series. It’s well packed with enthusiast and flexibility features all served in a silent case with powerful and expandable range of air/liquid cooling support.
Having reviewed a few cases in 2015, we couldn’t help but miss giving our take on the Define R5 which was definitely the much needed revision in the line up. It comes in 3 colors, in which each comes with or without a window. Here with us we have the Black Windowed version.
Specifications and Accessories
| CASE TYPE: | Mid-Tower |
|---|---|
| MATERIAL: | Steel & Plastic |
| WEIGHT: | 11.2 kg |
| SLOTS: | 7 |
| DRIVE BAYS: | 2x External 5.25″ 8x Internal 2.5/3.5″ 2x Internal 2.5″ |
| MOTHERBOARD FORM FACTORS: | ATX, Micro-ATX, Mini-ITX |
| DIMENSIONS: | 232 x 462 x 531mm |
| FRONT DOOR/COVER: | YES |
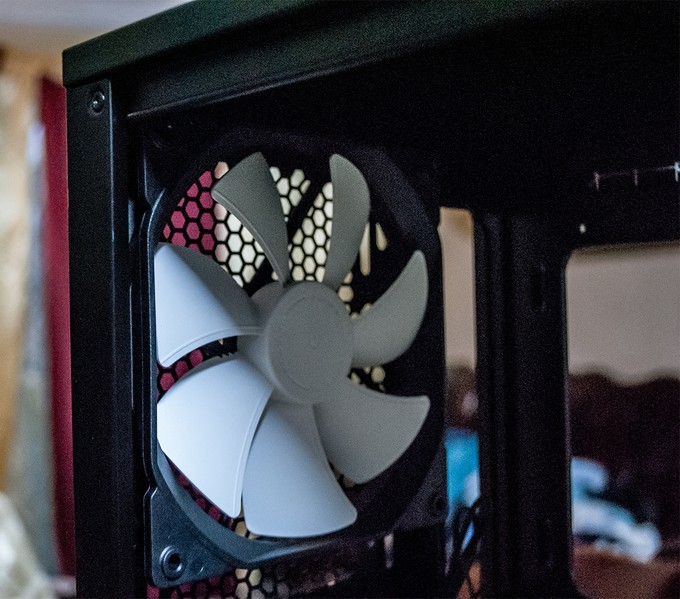
| FRONT FANS: | 2x 120/140 mm fans (included is 1 Fractal Design Dynamic GP14 fan, 1000 RPM speed) |
| REAR FANS: | 1x 120/140 mm fans (included is 1 Fractal Design Dynamic GP14 fan, 1000 RPM speed) |
| TOP FANS: | 3x 120/140 mm fan (not included) |
| BOTTOM FANS: | 2x 120/140 mm fan (not included) |
| SIDE FANS: | 1x 120/140 mm fan (not included) |
| I/O: | 2x USB 3.0 2x USB 2.0 1x Headphone 1x Microphone |
| FAN/LED Controller: | Integrated fan controller for up to 3 fans |
| Compatibility: | CPU Cooler: 180 mm GPU: 310 mm (with front HDD cage), 440 mm (with front fan) PSU: 190/170 mm with a bottom 120/140mm fan installed, up to 300mm can be used |
The casing comes shipped in your average cardboard box with details and features on the sides and back. As you dig further, you’re greeted with styrofoam spaces which secure the casing in its position and protects it from damage during shipping. Nothing special here in terms of the unboxing experience.
Screws are well provided with a few cable ties, which would be enough in cable managing a single build. The thing that caught my eye is the plastic tip that helps with the application of the motherboard’s spacers; it is made out of plastic, which is clearly not as good as a one made out of metal. Also included is the manual to guide you through the entire assembly or re-assembly process.
Exterior
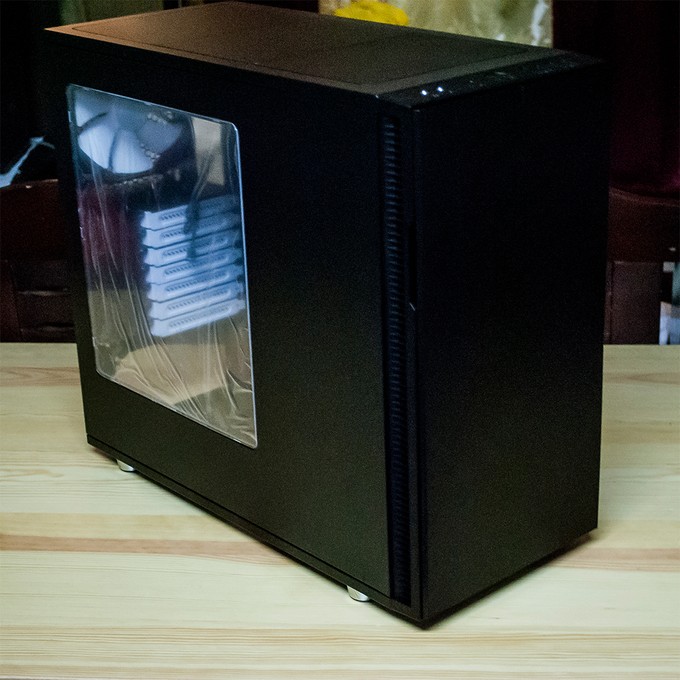
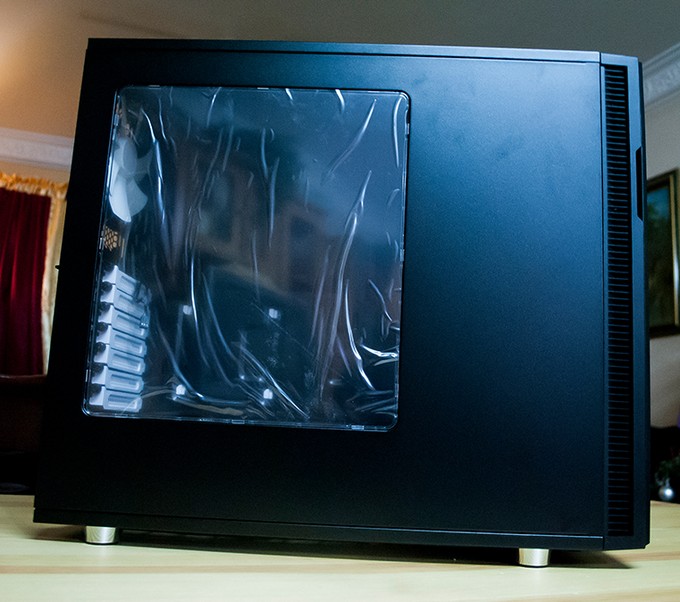
It’s not a surprise that Fractal Design has been giving updates to their Define line up on a regular basis. This was most probably their 5th generation chassis, giving it a pretty obvious change in this latest iteration than ones before it. The chassis seemed to have expanded and the front door definitely has that nice metal finishing on it. The surface has been given changes over those of the previous generations.
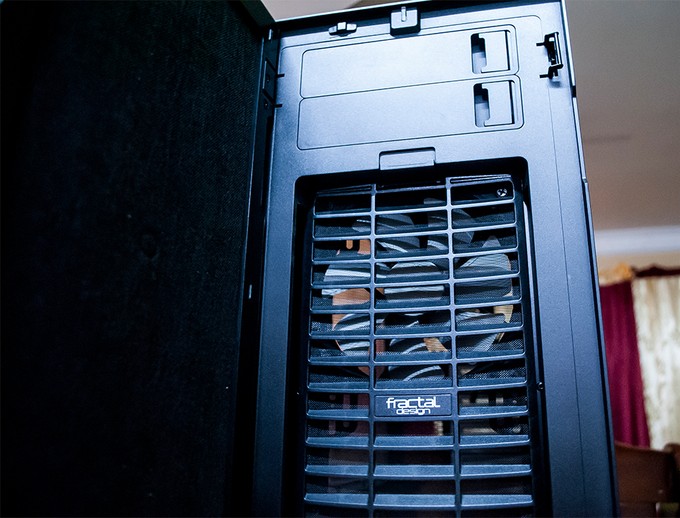
The front of the Define R5 has become pretty square-ish, with sharper corners and the soft curves kept to a minimum. The Fractal Design logo cannot be seen on the exterior of the casing but as you open the door, the logo can be seen on the air vent. The door was rather sturdy although it was made of plastic. The door swings left by default but Fractal Design allows you to switch it to swing right by reassembling the two screws to the opposite side. The sound-dampening materials is a nice significant touch to other casings we have reviewed in 2015, with an air vent frame in the front allowing for front intake fans.

From this design, it’s obvious how much space you could have for your imagination to go wild in it. There are no holes for routing liquid cooling tubes through the back but judging by how much radiator clearance it has, I wouldn’t think that would be necessary.
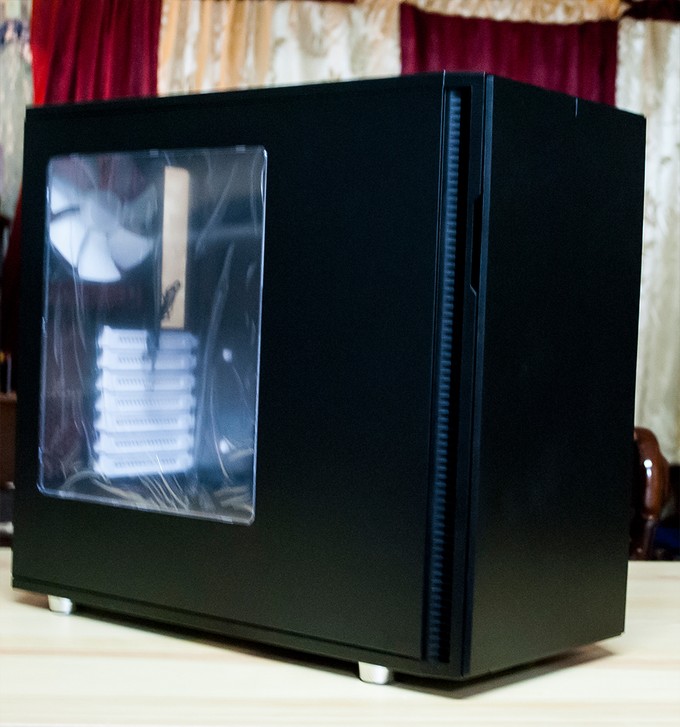
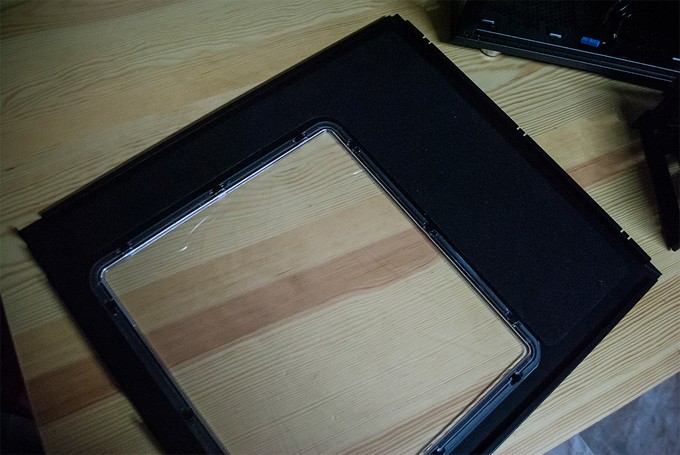
The side panels are really solid, not being a surprise to why this chassis is really silent. The window is fairly limited to a certain region so you won’t be able to show off your enormous reservoirs if you’re into liquid cooling.
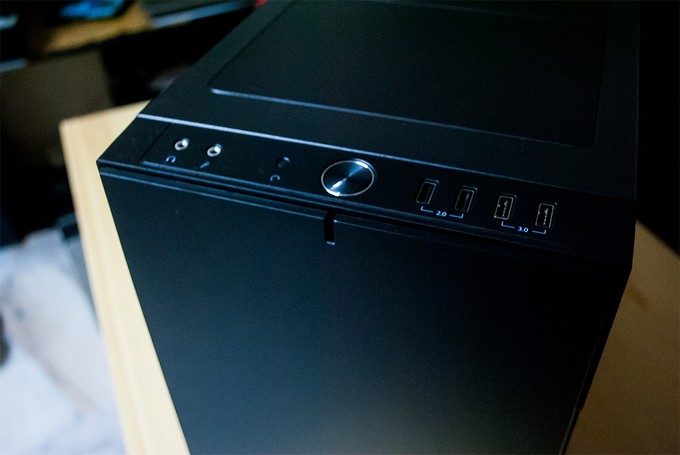
At the top area of the front side, you could see the Power and a tiny Reset button. There are also two USB 3.0 and two USB 2.0 ports and the normal audio ports. Being part of the chassis frame, the entire top panel is made out of metal, while the three solid panels are out of plastic. Remove one or more of these plastic covers if you need an air vent for a liquid-cooling setup or fans there. However, doing so will greatly reduce the R5’s noise isolating capabilities and allow dust to enter.
Interior
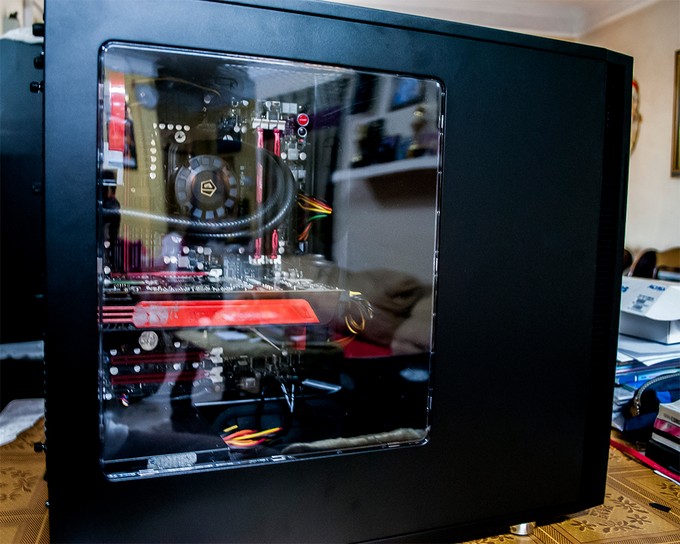
In order to enter interior of this chasis, you’ll need to remove the thumbscrews holding the panel. Sound-dampening material can be seen on the inner side of the side panel beside the window.
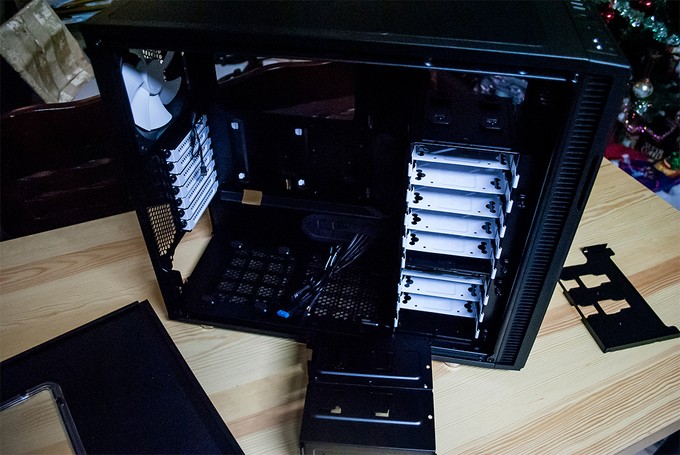
The interior layout seems a little cliche at first but there’s visually no plastic seen within, being a good thing these days. Flip the enclosure around and you’ll see the big hole for the motherboard’s CPU area which is sufficient for proper CPU fan installation for most motherboard sizes. There’s also an L-shaped trenched along the motherboard location.
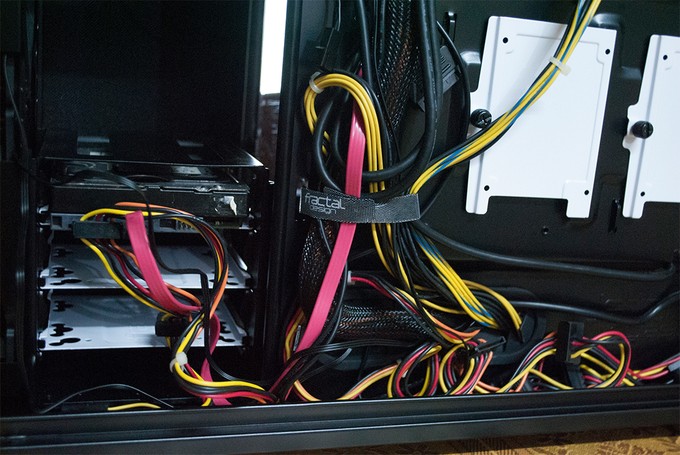
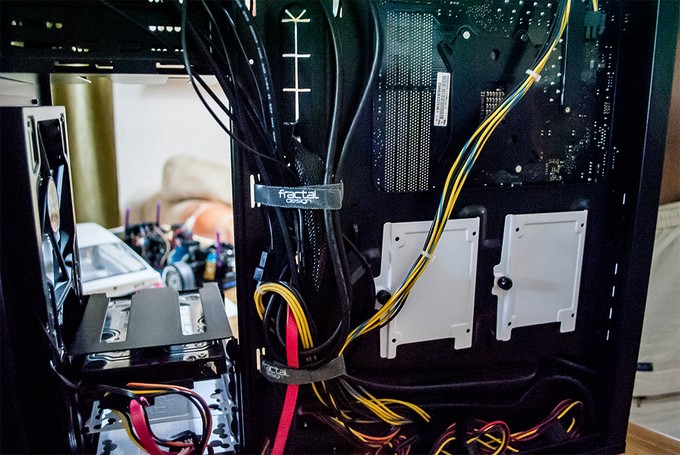
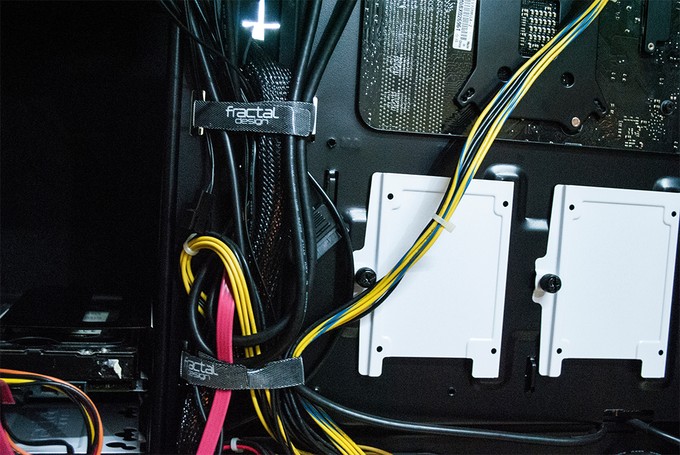
The Velcro straps that hold the cables in place – also being on Phanteks casings, is seen to have the Fractal Design logo. It’s slightly shorter in length but it’s sufficient to hold cables in place when tested with our non-modular PSU. There’s also two 2.5″ SSD/HDD trays that is held by thumbscrews to allow for better modularity in case you might need the extra space to manage more cables. Sufficient space is given so mounting cables onto these drives wouldn’t be a problem as well.
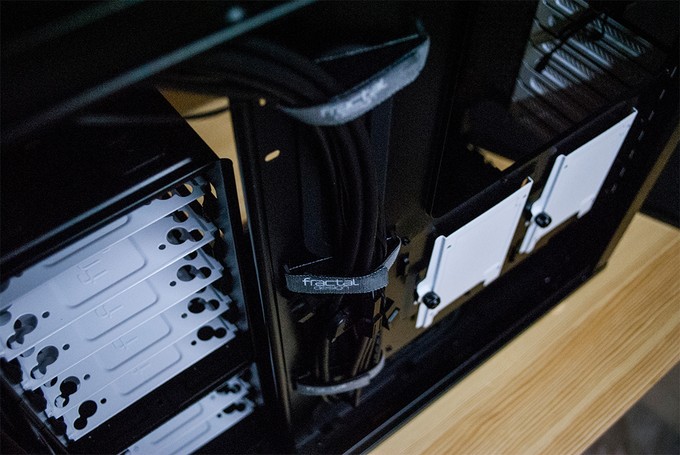
Over at the front of the casing are two 5.25″ drive bays, which are seen to be quite a lot. Like the past Define enclosures, it’s held together with thumbscrews which could be removed easily. Underneath are two hard-drive cages with sufficient room for eight drives overall which is plenty. Fractal Design allows the ability to remove the drive at the top or rotate it 90-degrees facing your hardware. While there is little reason to do so, it is nice to have the option, again adding to the flexibility of the case.

If you’re into liquid cooling, you could remove everything, giving you enough room for mounting even a 280 mm radiator on the floor. You may leave the 5.25″ drive bays and the bigger hard-drive tray in place or go for nothing but hard drives by removing the ODD cage completely. Remove everything and there is also enough room for a thin 420 mm radiator in the ceiling or a thick 360 radiator at the front which is sufficient for liquid cooling whatever you throw in this casing.
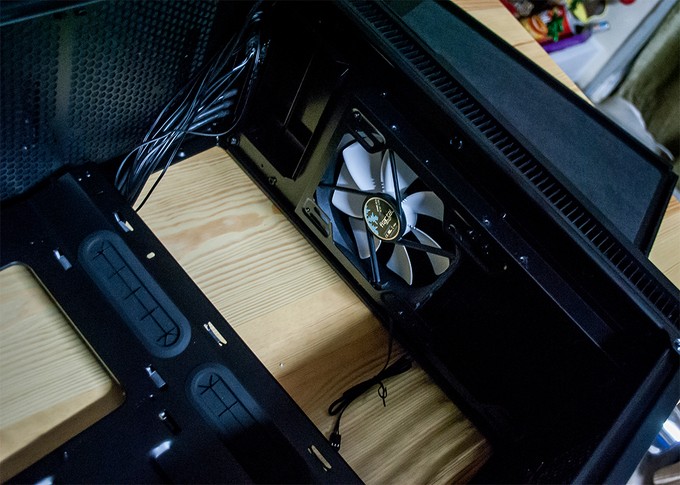
A 140 mm fan is spotted in the rear with the seven motherboard expansion slots below it, each protected by its own white cover, held in place by a thumbscrew each. The PSU at the bottom will rest on four foam tips, which should be enough to kill any vibrations it may pass onto the frame.
The cables for the operation of the Define R5 are sleeved black and of the standard defaults you’d expect, not having any issues while connecting these to a modern motherboard. The chassis comes standard with both USB 2.0 and 3.0, with no need for a USB 3.0 adapter.
Installation and Cable Management
For our test installation, we had the following hardware fitted into the casing.
- AMD FX 9590
- Kingston HyperX Fury 16GB 1866MHz RAM (8GB x 2)
- ASUS CROSSHAIR V FORMULA-Z ATX-Sized Motherboard
- Old HD 5850 Reference
- WD Blue 500GB
- Cougar 650W +80 Silver PSU Non-Modular PSU
- ID Cooling Frostflow 120L AIO Liquid Cooler
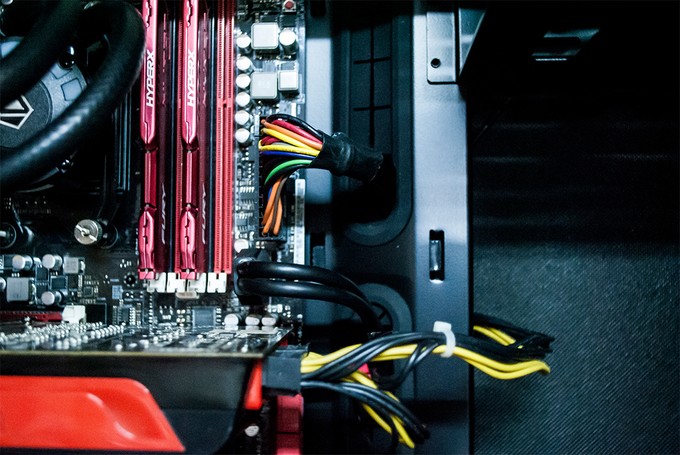
We did the usual motherboard installation procedures and it went fairly well with tons of space to work with. The good old HD 5850 Reference card wasn’t too long to touch any of the hard-drive at its level so I wouldn’t think you should run into any issues, even when you have gigantic cards like the R9 295X2 as the HDD cages are removable. For the AIO radiator, I’ve chosen to install it at the back with the rest of the sound-dampening covers installed to test how silent it was.

Installing the 2.5″ drives was fairly standard in installation but an interesting thing here when installing the 3.5″ drives are the anti-vibration rings when screwing the drives in. It definitely helps in isolating the sound and vibrations you should have from the hard drives even further.
We didn’t have any optical drives installed but removing the front bay panels should be fairly easy thanks to its (un)locking mechanism but it also seems easy to break if you’re slightly rough. Nothing so special in the installation of the PSU as well.
Cable management was done with the velcro straps provided and it looks pretty well even with our messy non-modular PSU. We were able to route everything properly with some space to store unused cables as well. The cable management space of about an inch is plenty for almost any cable management situation you may encounter.
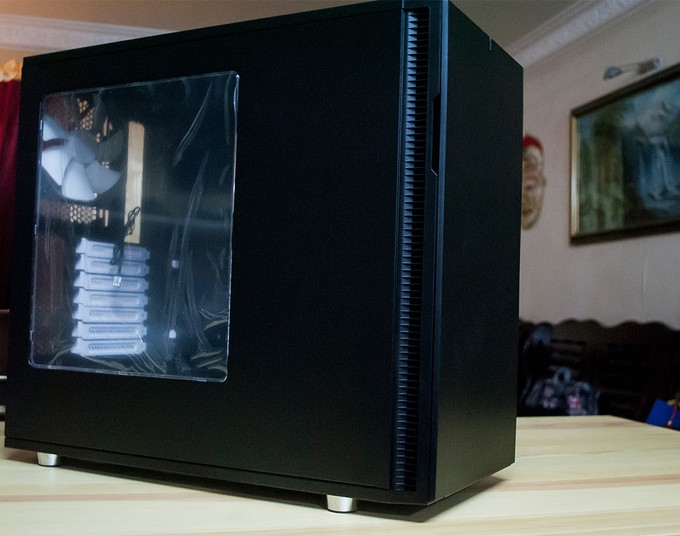
With the window panel closed, it looks really good. The window is just sufficient for you to have a look at your internals without having to look at your HDD cage but I think a slightly wider window would have been appropriate.